
How is an Acoustic Panel Made?
There are many ways to build your own acoustic panel. In this article, we will discuss the various methods and how you can make your own in about 30 minutes!
The acoustic panel we attempt to make in this guide will be a fabric-cladded acoustic panel with a fibreglass wool substrate. The 1-inch fibreglass wool provides sound absorption of NRC = 0.75 and should be effective enough to bring down the echoes for most home or office rooms.
In this guide, we will start by teaching you how to make an acoustic panel the traditional way with wood battens and a back board. After that, we will take about how to build an acoustic panel with fabric system.

Method 1: Traditional Way
Most of the acoustic panels you see in cinemas, auditorium, lecture halls, or class rooms that were built before 1990s or even in 2010s are likely to be made with the traditional method of building an acoustic panel.

Traditional Carpentry
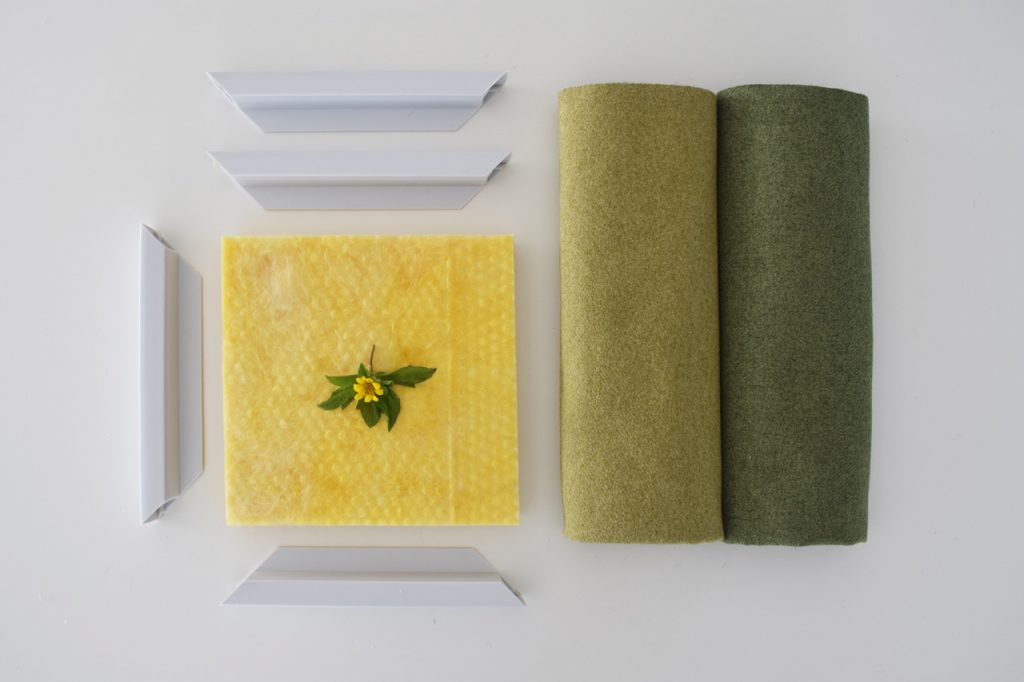
The traditional method simply takes a base board such as 12mm plywood, and securing a piece of sound absorbing substrate to it, wrapping it with a piece of fabric and stapling the back to secure the fabric.
This method of making an acoustic panel has its benefits and disadvantages.
It is good for the everyday lay-man or carpenter as no special tools or products are required. This method, however, poses a big disadvantage in that the fabric is a permanent part of the structure. When the fabric needs changing, it is not rest of the installation. The poor reusability of the installation poses as a liability in construction and is not beneficial towards construction sustainability.
Method 2: Fabric System
Fabric system is a track-based system where the fabric finish is not installed in a permanent, destructive manner. The polymeric tracks hold the fabric in place with a locking mechanism, which can be released when needed. This system also ensures a tauter installation that is well fitted to site conditions.
Steering away from usage of timber materials in the construction of fabric acoustic panels solves many timber-related issues, such as hazardous compounds (VOC) and fire-rating.
Choosing the Right Fabric
Now for the icing on the cake! The fabric of the panel is what adds to the aesthetics of the room, but there is much more to choosing the right fabric. Firstly, sound needs to be able to pass through the fabric easily to be absorbed by the substrate inside the panel – this type of fabric is acoustically transparent. To test if your chosen fabric is acoustically transparent, you can be read this guide.
We recommend fabrics made in the US from Guildford of Maine, FR701 range, or fabrics made in UK from the Camira, Cara or Lucia range.
Share